Host your own mail server with Stalwart and Coolify
Selfhosting Tutorial

Table of Contents
Have questions?
Contact MeHosting and running your own mail server with Coolify is not exactly easy. There are quite a few pitfalls, and the guides I found on this topic refer to outdated versions and send you in the wrong direction. That’s why I wrote down my setup here.
There are other mail servers like Mailcow that are easier to run and come with a webmail client out of the box. I still went with Stalwart. Mailcow needs a lot more resources, Stalwart works better with Traefik, and I prefer adding my mailboxes to my mail app anyway instead of opening a webmail client every time.
Setup
Step 1: Create a project and resource
In Coolify, go to /projects and create a new project, e.g. “Email”. Inside it, create a new resource and select “Docker Compose”.
At this point the Coolify editor doesn’t offer a raw text view yet. If you paste the full compose file here, you end up fixing most of the indentation by hand. So for now, just paste this minimal placeholder:
services:
  web:
    image: hello-world
Create the resource and wait until Coolify is done.
Step 2: Paste the actual compose file
Now you can give the service a proper name, e.g. “stalwart”. Then click “Edit Compose File” to open the modal and select “Use plain-text editor” at the very bottom. There you can paste the actual compose file without any formatting issues:
services:
  stalwart-mail:
    image: 'stalwartlabs/stalwart:latest'
    container_name: stalwart-mail
    environment:
      - TZ=UTC
    ports:
      - '25:25'
      - '587:587'
      - '465:465'
      - '143:143'
      - '993:993'
    volumes:
      - 'stalwart-data:/var/lib/stalwart'
      - 'stalwart-config:/etc/stalwart'
    networks:
      - coolify
    restart: unless-stopped
volumes:
  stalwart-data: null
  stalwart-config: null
networks:
  coolify:
    external: true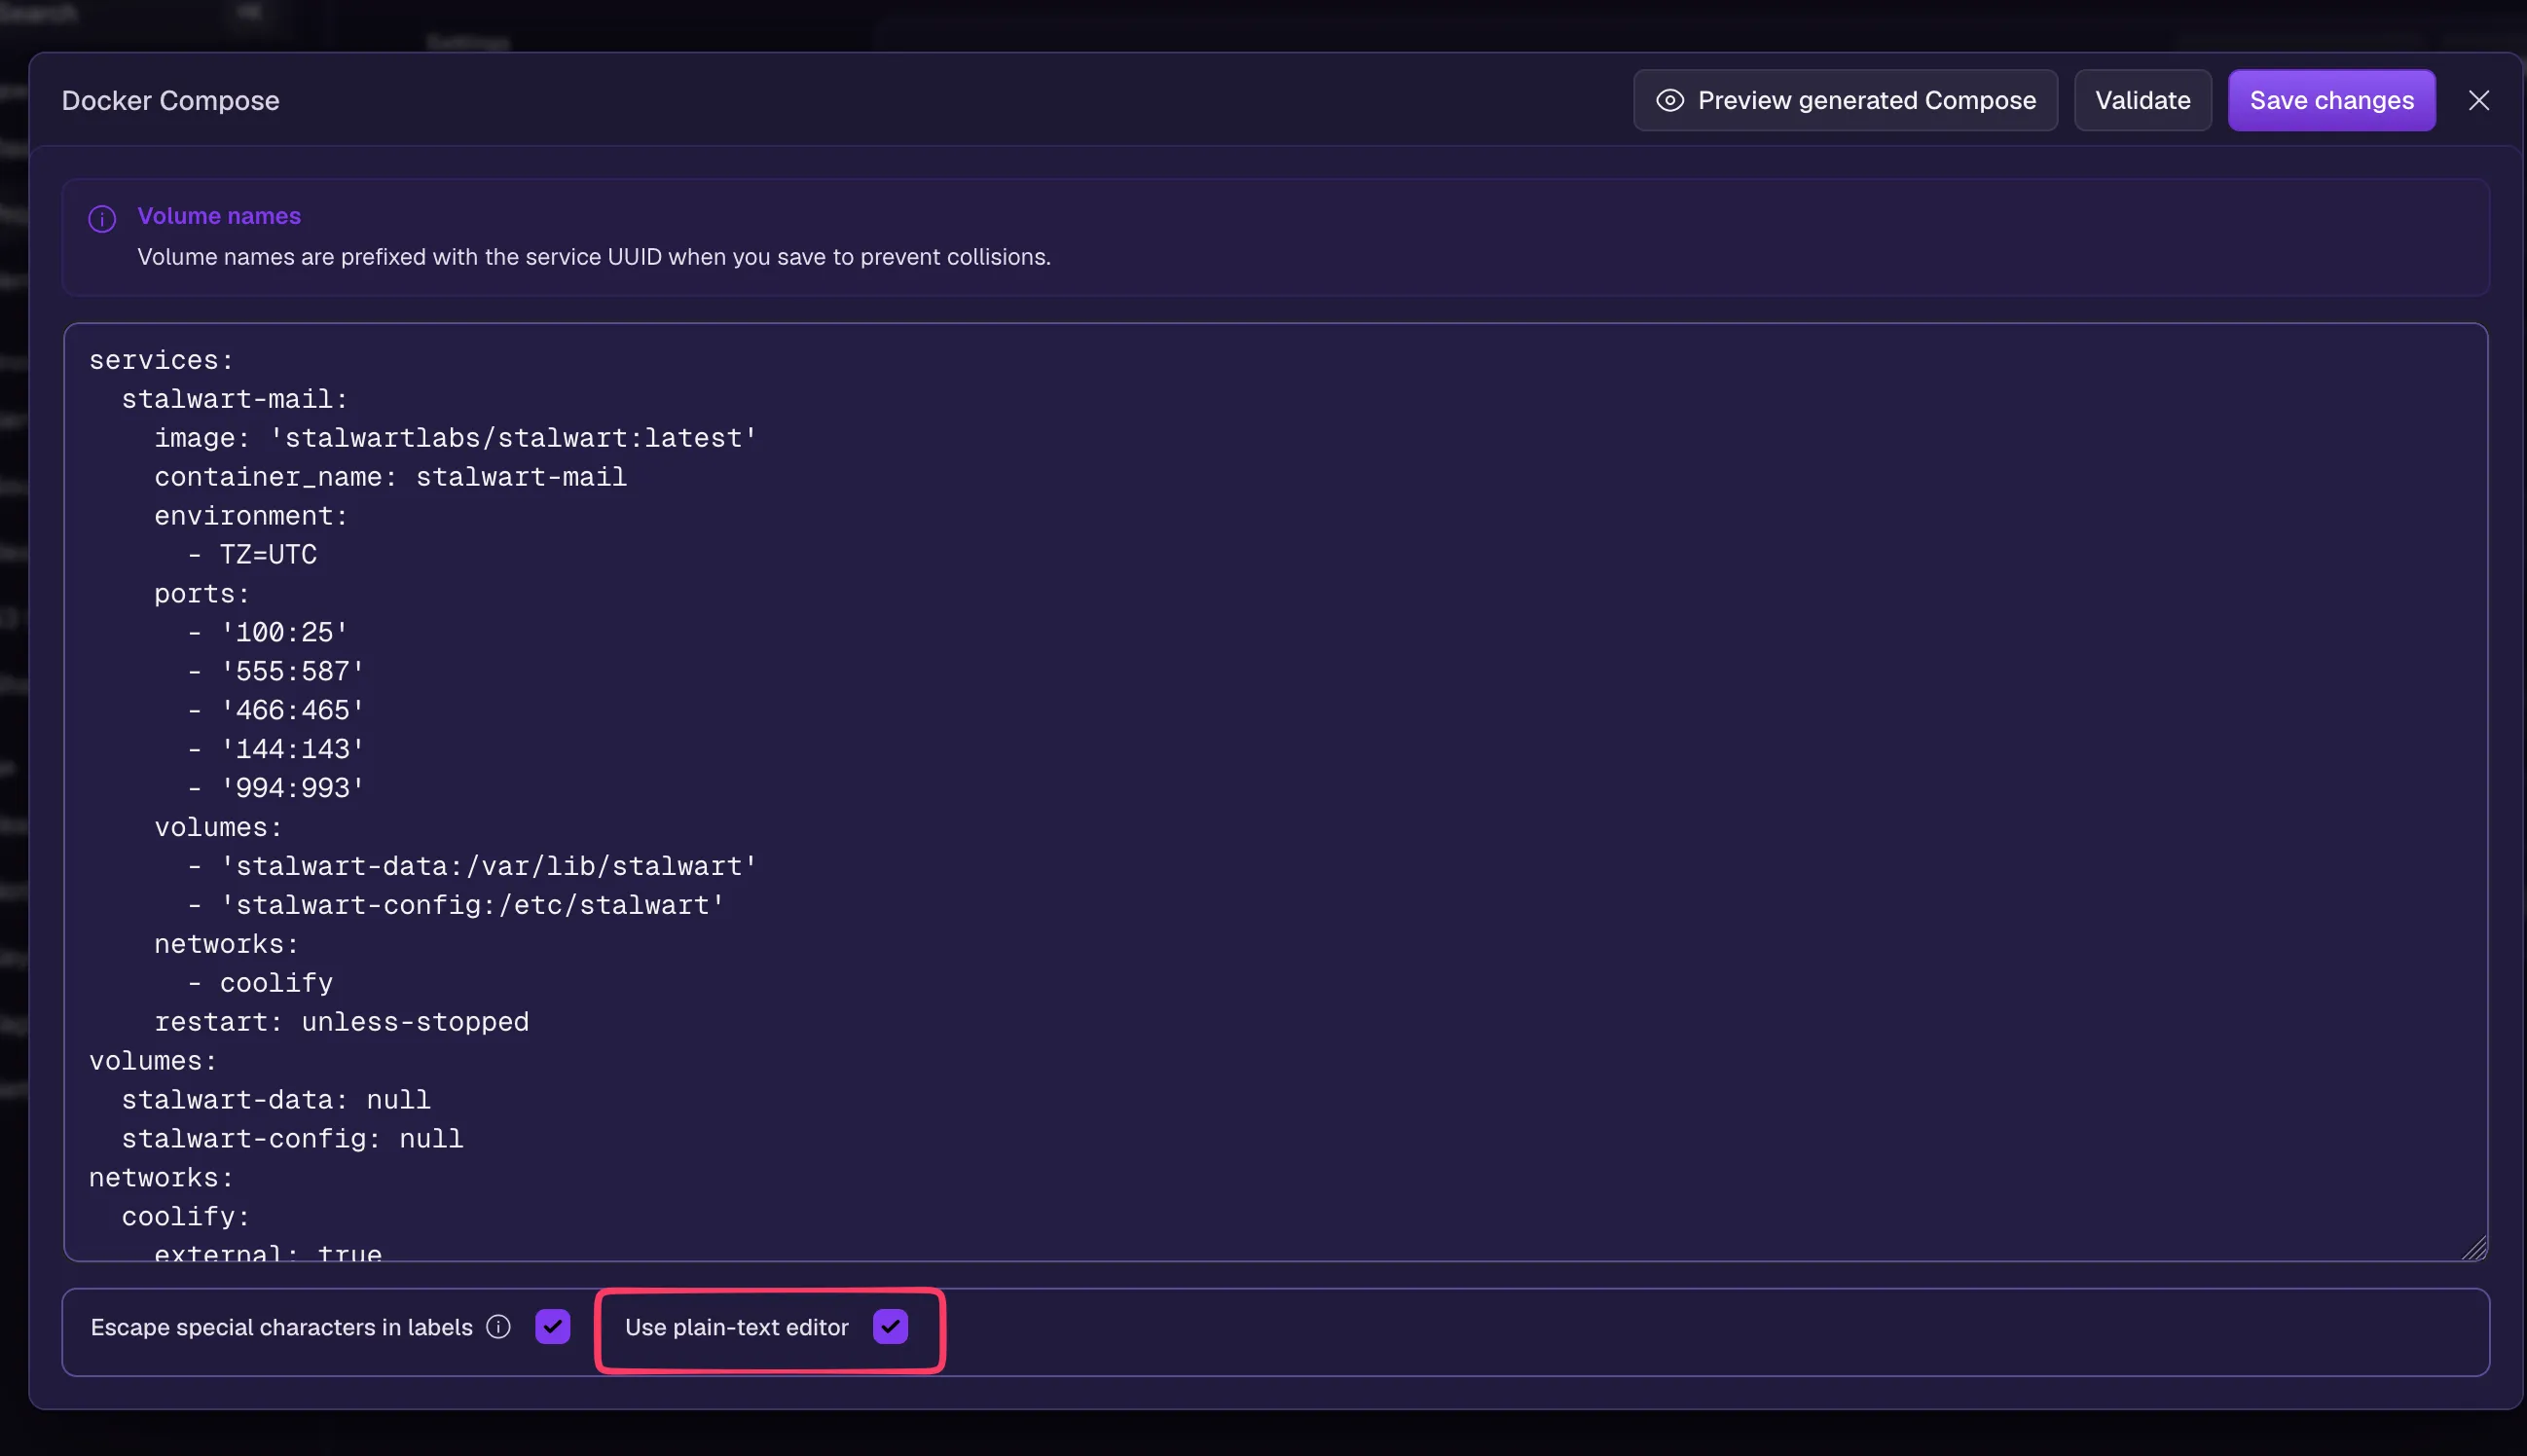
The Stalwart WebUI runs on port 8080 inside the container. You don’t need to expose this port, because Traefik reaches the container directly through the coolify network and takes care of HTTPS. Only the ports needed for mail traffic are exposed.
If you want to use POP3 or ManageSieve (managing Sieve filters from your mail client), also add 110, 995 and 4190.
For production use, Stalwart recommends pinning a fixed version instead of
latest(e.g.stalwartlabs/stalwart:v0.16). That way a major update doesn’t slip in unnoticed on a restart. You can find the latest version on Docker Hub.
Step 3: Remove the placeholder
Under “Compose Resources” you can now delete the “web” resource (gear icon, then “Delete”). It was only needed for the workaround from step 1.
Step 4: Configure the domain
In the resource, add the domain for the WebUI under “Domains”:
- Protocol: https
- Domain: mail.yourdomain.xyz
- Port: 8080
- Path: leave empty
At your registrar, an A record (and an AAAA record if you use IPv6) for this subdomain should already point to the IP of your server. Otherwise Traefik won’t get a certificate for the WebUI.
Step 5: Start the container
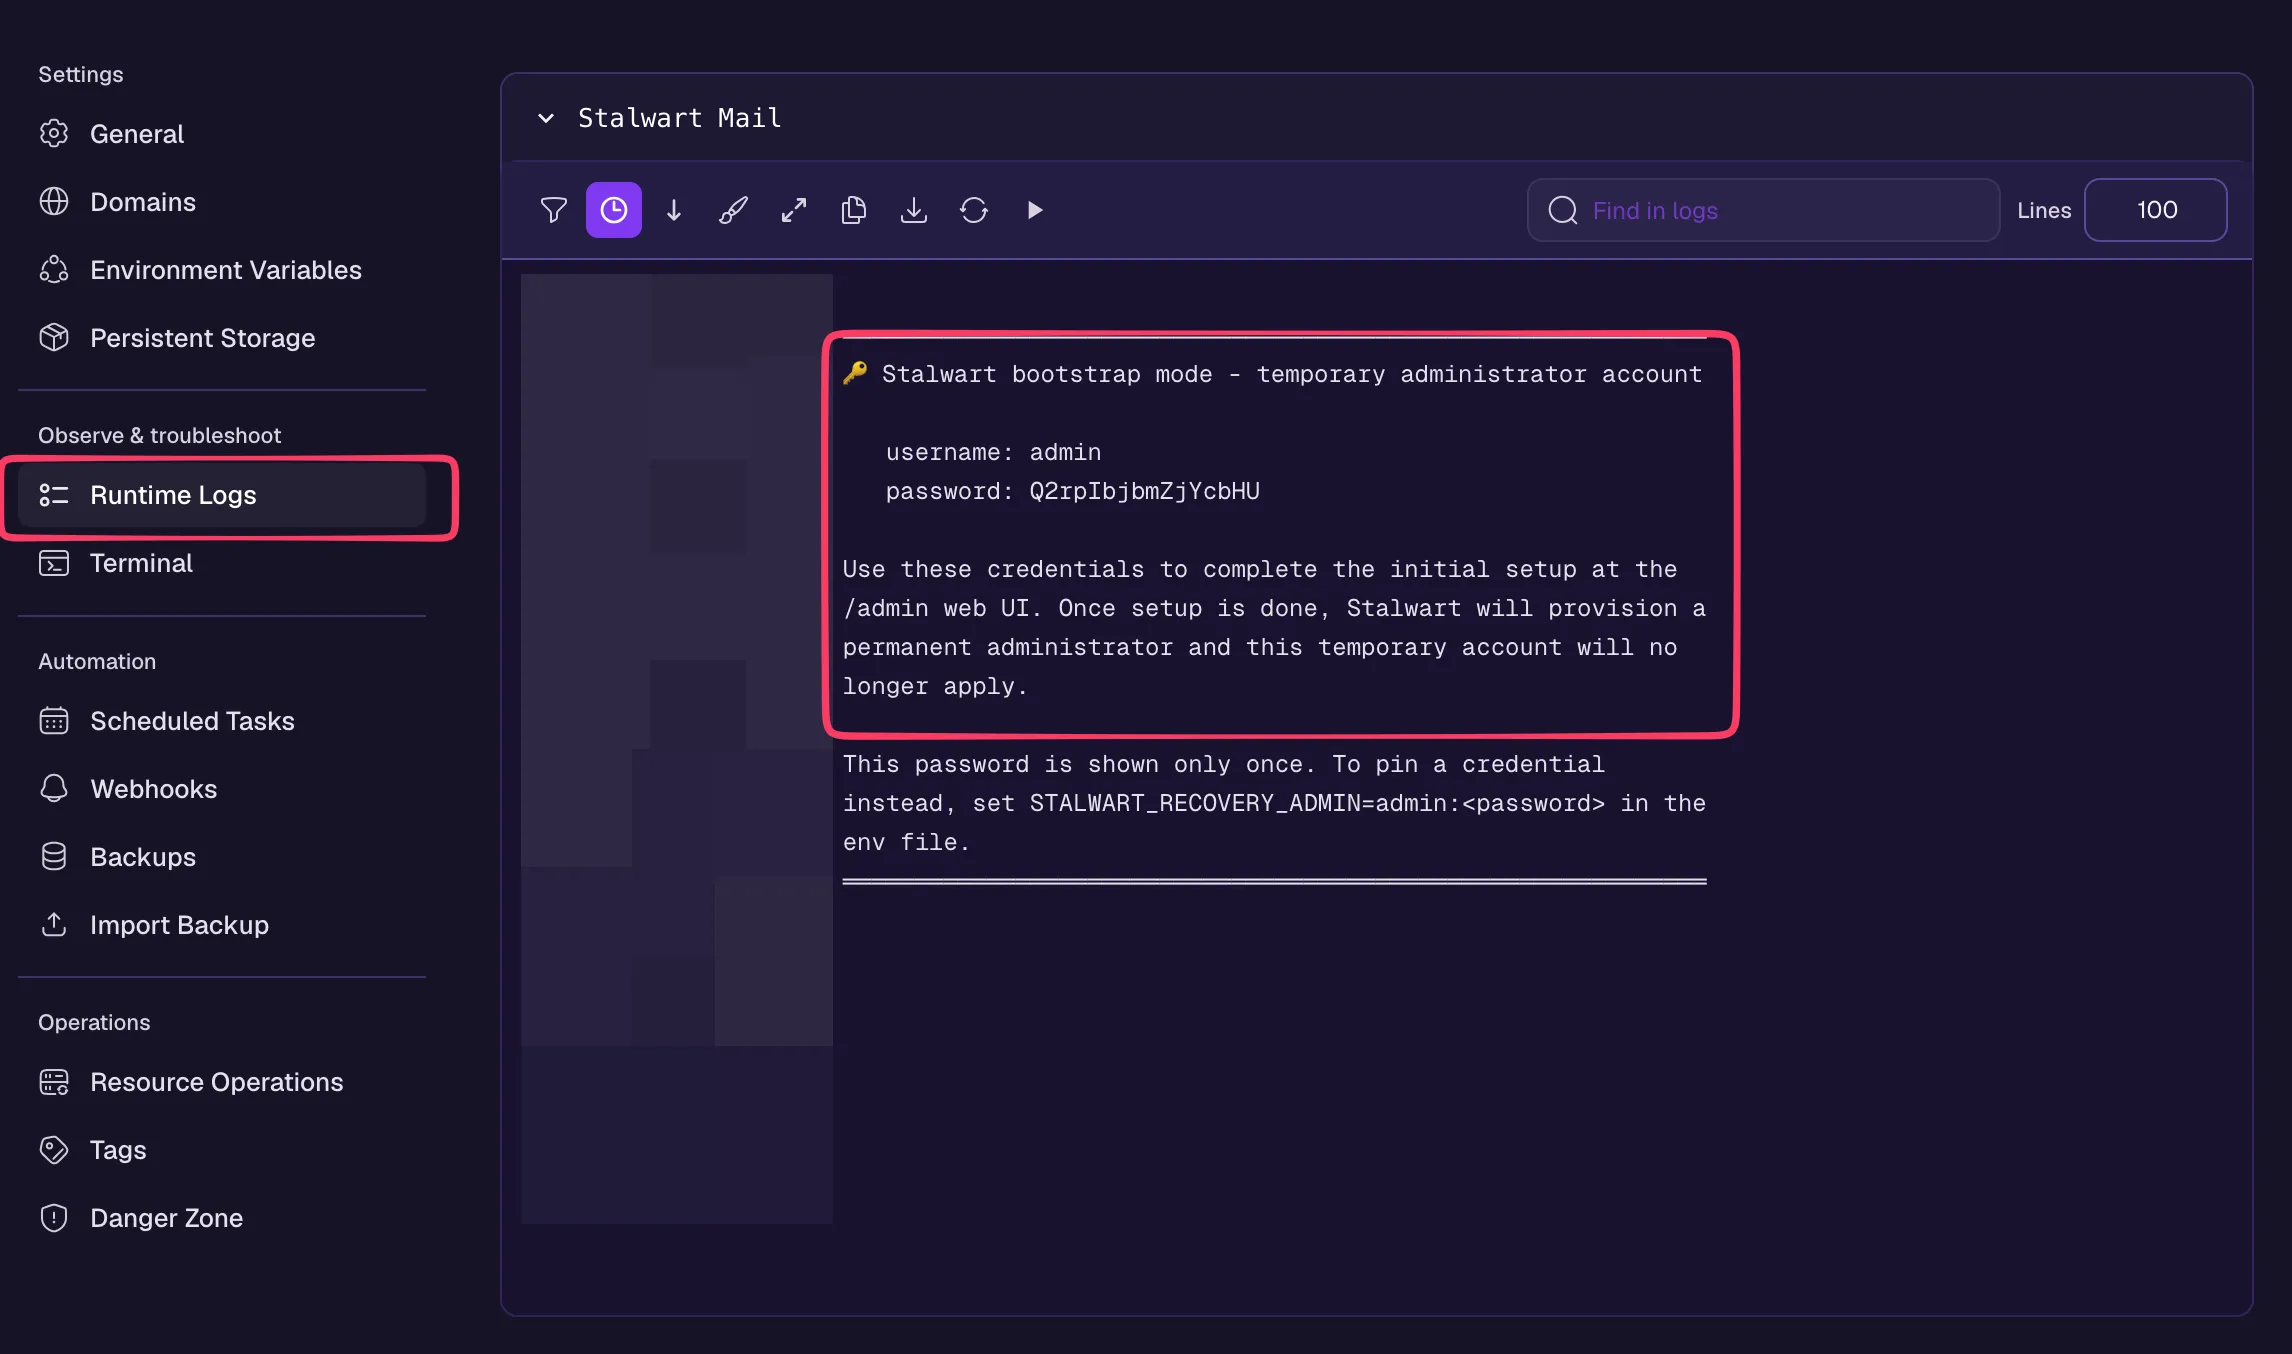
Start the container (top right under “Actions”, first option “Start Container”) and keep an eye on the logs. If one of the mail ports (25, 587, 465, 143, 993) is already in use, the container won’t start. Usually that means another mail server like Postfix is still running on the system. It has to be stopped, since Stalwart really needs these ports.
Step 6: Log in right away
On the first start, Stalwart runs in bootstrap mode and writes a username and a temporary password to the logs. Use these credentials to log in to the WebUI right away. As long as the initial setup isn’t finished, anyone opening the domain could set up the server instead.
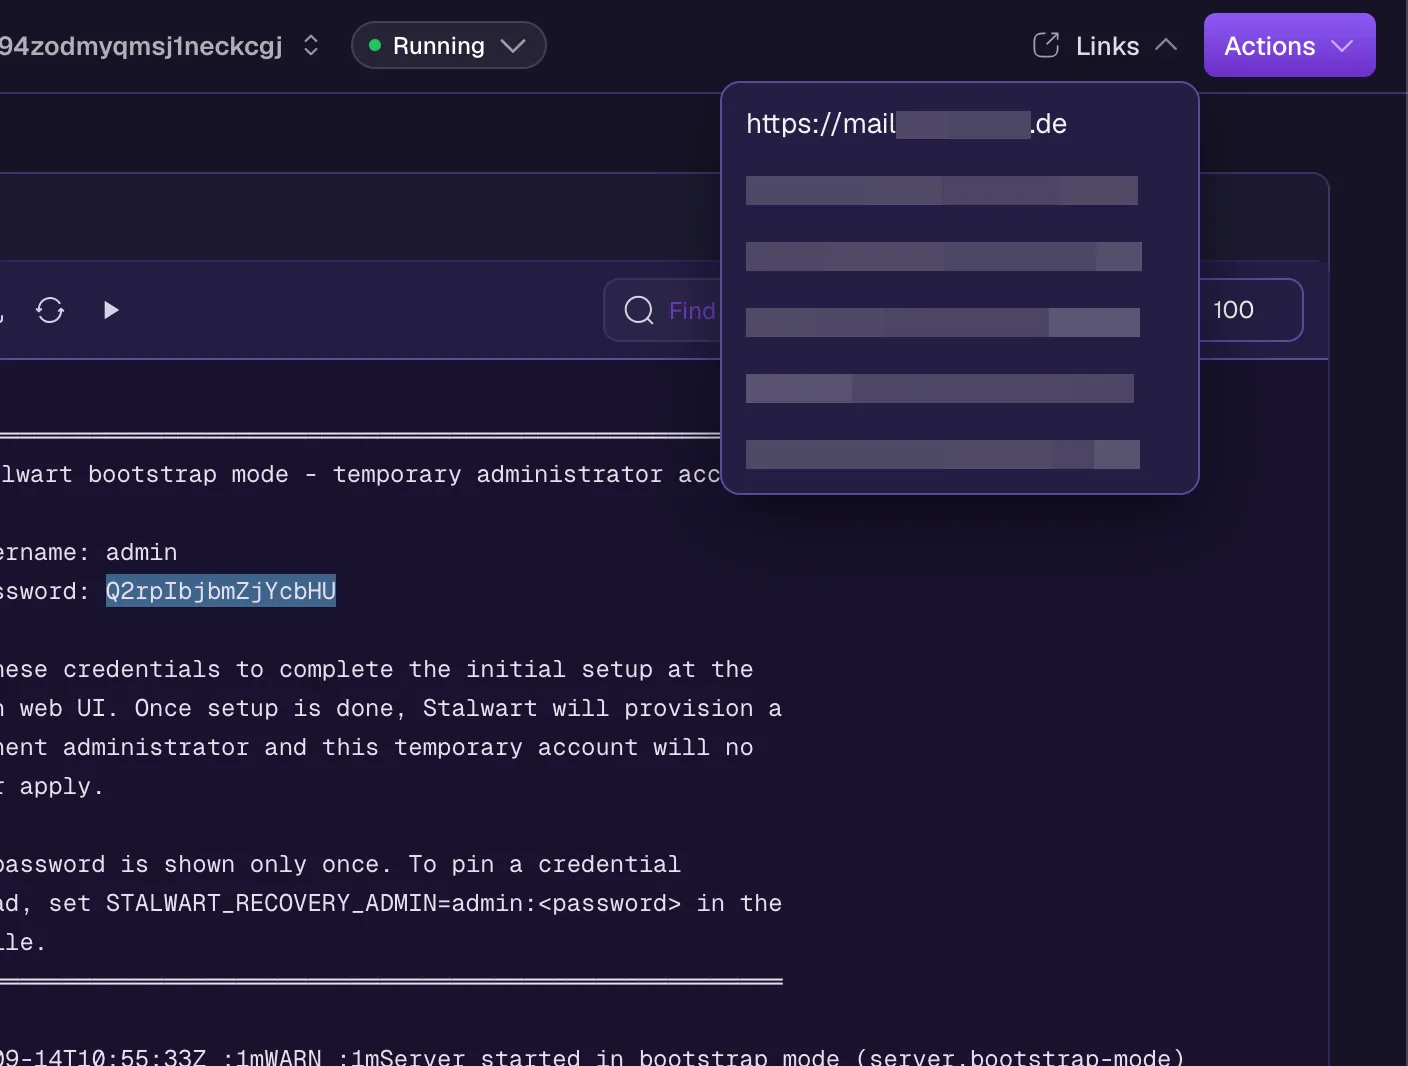
You can reach the WebUI in Coolify via “Links” in the top right. Click the first entry with the domain you just configured.
Step 7: Go through the onboarding
During onboarding, adjust the server hostname and the default email domain. The remaining values can stay as they are.
The important part is the last step, “Automatic DNS Management”. I highly recommend connecting your domain registrar here. Stalwart will then create all required DNS records (MX, SPF, DKIM, DMARC etc.) by itself and can obtain its certificates via DNS.
Step 8: Restart and set your own password
Restart the container and watch the logs again. If the temporary password no longer shows up, the configuration was saved successfully.
Then log in to Stalwart again and change your password right away under /account/Account/x:AccountPassword.
Step 9: Check the settings
Now it’s worth taking a quick look at these pages:
/account/Management/x:Domainshows the domain you are setting up mail for./account/Settings/x:DnsServershows the DNS provider Stalwart uses to manage the records. Your own domain registrar should be listed here. If there are problems creating the records, you can adjust timeouts and intervals in this entry./account/Settings/x:AcmeProvidershould contain a provider of type DNS-01. Enable “Reuse Key” here, in my experience it ran more reliably than the other options.
Step 10: Wait for the certificate
Now you have to wait until Stalwart has obtained a TLS certificate. This can take several hours. Once it’s there, it shows up under /account/Settings/x:Certificate.
You can follow the progress and any errors under /account/Management/x:Task in the task “Perform ACME certificate renewal for a domain”.
Step 11: Create a mailbox and add it to your mail client
Once the certificate is in place, you can create a mail account under /account/Management/x:Account/User. Give it a password via “Password for authenticating to the account”.
After that you can add the mailbox to any mail client:
- Server: the domain from step 4, e.g. mail.yourdomain.xyz
- IMAP: port 993 with SSL/TLS
- SMTP: port 465 with SSL/TLS or port 587 with STARTTLS
- Username: the email address
- Password: the password you just set
Possible problems
First check whether the domain in Coolify is really set up with https. If it is, check the DNS records at your registrar and add separate A and AAAA records for the subdomain (e.g. “mail”) with the IPv4 and IPv6 address of your server.
New DNS records sometimes take several hours to propagate everywhere. So don’t despair if it doesn’t work right away.
Many hosting providers block outgoing traffic on port 25 by default, e.g. for new customer accounts. This can often be changed in the firewall settings in their web interface. In some cases you have to ask the provider to lift the block.
Another important thing is the reverse DNS entry (PTR record) of the server IP. It should point to the server hostname you entered during onboarding (step 7), e.g. mail.yourdomain.xyz. That is the name Stalwart uses to introduce itself to other mail servers when sending. Stalwart can’t set this entry by itself, it is configured at your server’s hosting provider and not at the domain registrar. Without a matching PTR record, many large providers reject your mails or put them straight into spam.
You can easily check if everything is fine with mail-tester.com.
Traefik and Stalwart manage their certificates separately. Traefik only takes care of the WebUI, the mail ports use Stalwart’s own certificate. So until step 10 is done, your mail client won’t see a valid certificate yet. Go through step 9 again.
If you have any questions or suggestions for improvement, feel free to contact me.
Stalwart Docker documentation
Dark to Bright Pattern
Bachelorarbeitsprojekt - Interaktiver Leitfaden, der dabei hilft, Dark Patterns zu identifizieren und in Bright Patterns umzuwandeln.

Eigenen Mailserver mit Stalwart und Coolify hosten
Schritt für Schritt Anleitung, wie man den Mailserver Stalwart unter Coolify mit Docker Compose aufsetzt, inklusive DNS, Zertifikaten und typischen Stolperfallen.